You are going to want to add text to your Adobe Premiere Pro project at some point.
It's really easy to do. This blog will provide a simple step by step guide.
Overview
Step by Step Guide
Let's start by adding some text to our Premiere Pro project.
How to add text in Adobe Premiere
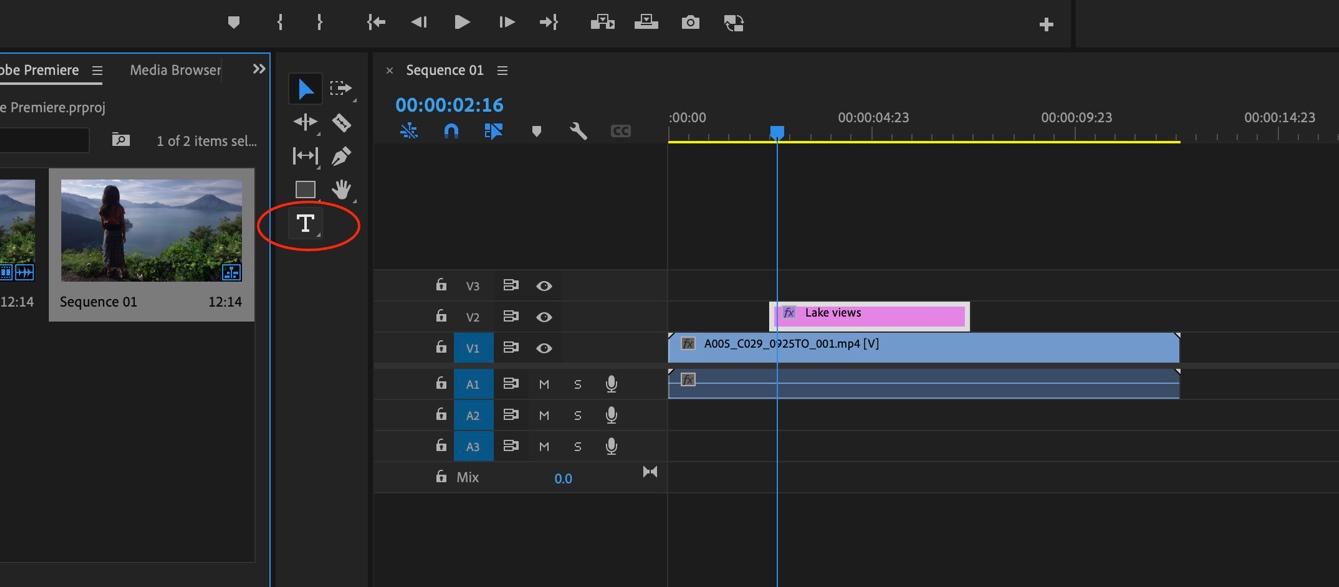
Select the text tool next to your timeline (or simply hit T on your keyboard)

Using the text tool, draw a box where you want your text to appear and start to type.
I have already added a video clip to use as the background so my text - Lake Views sits on top of that.

You'll notice that Premiere automatically creates a pink clip (circled in red) above where the video clip appears in your timeline. This is your text.
Choose when the text appears in your video
You can drag this pink clip forwards and backwards to change at what point the text appears in your video. In this case, the text appears right at the start.
You can also drag the end of the pink clip to determine how long the text will appear on screen.

How to format your text
Firstly, select the text you want to format.
Go to the Essential Graphics panel. If you can't see this, go to the Window menu and choose Essential Graphics.
In this panel you can format your text how you like by changing the font, font size, font style, colour etc.

Under Appearance, choose the box next to Fill to select the desired colour.

I find the easiest and most intuitive way to change your font size is to use the little drag bar on the right of the panel.
How do I make sure my text is centred?
Often you will want your text to appear exactly in the centre of your screen. You can align your text here in the Essential Graphics panel but there is a better way to make sure your text is aligned in the centre of the screen.
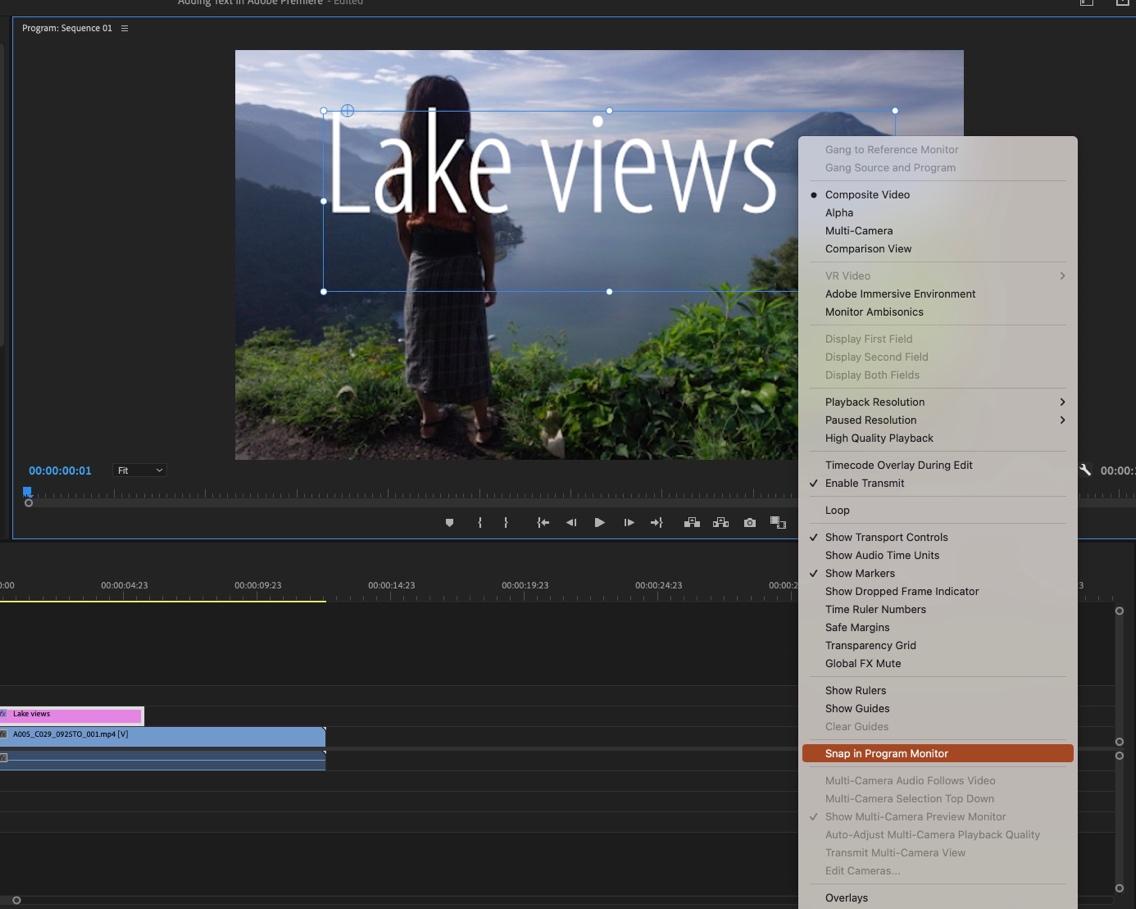
Choose the spanner (or wrench if you are in the USA) icon at the bottom of your project screen and from the drop down menu choose Snap in Program Monitor.

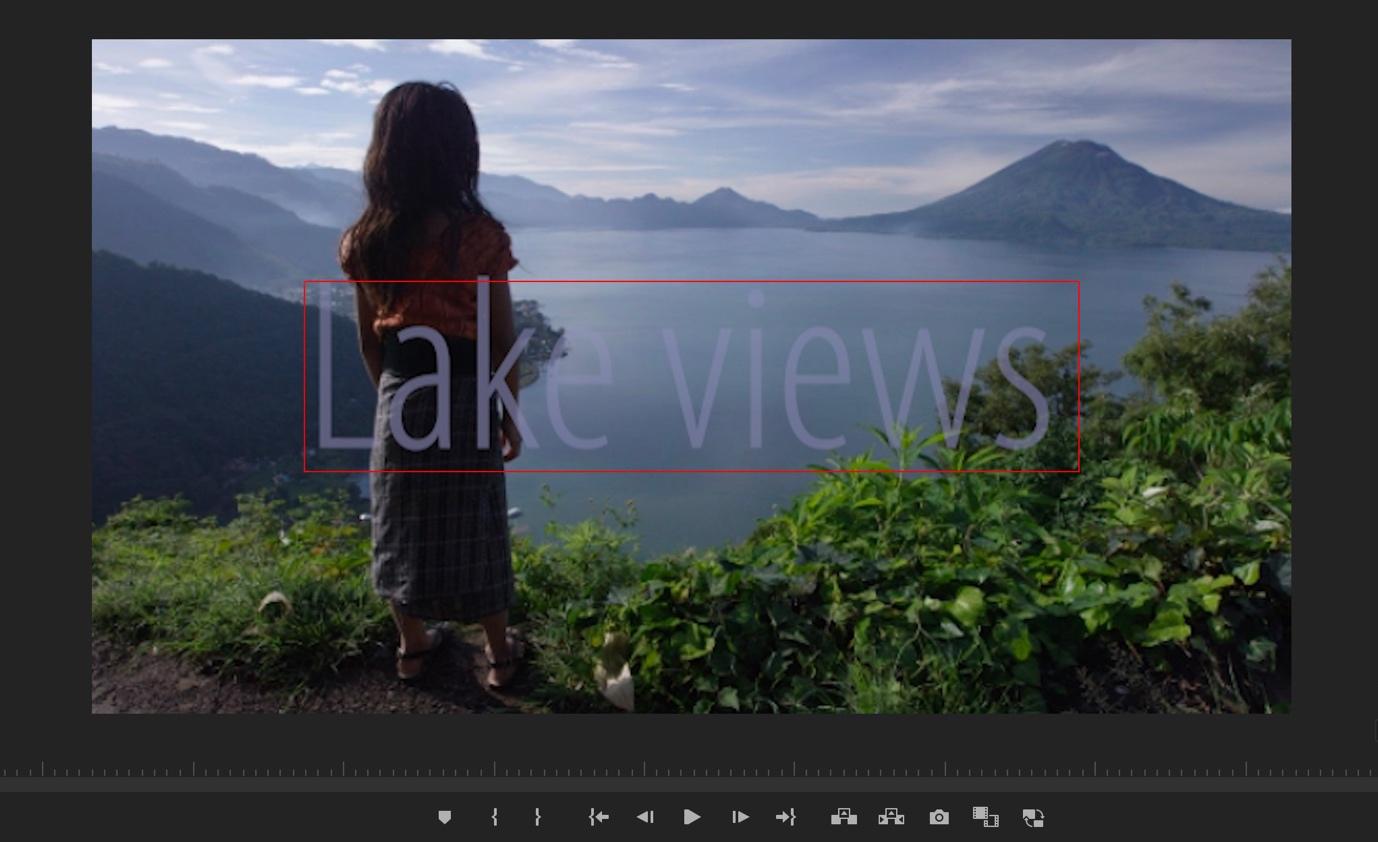
Now, when you move your text around using the selection tool, both vertical and horizontal red lines will appear when your text is exactly centred.
Easy.
If you need further help, here is a quick and easy video tutorial from our tutor Nicole on how to center text.
How do I make my text see-through or semi-transparent?
In the Essential Graphics panel, under the section called Align and Transform, you will see a drag bar which allows you to increase and decrease the opacity of your text.

This can also be done as a fade.
Further Tools
We talk about tasks like this in great detail on our Adobe Premiere Courses which range from Introductory to Advanced level
There's a whole lot more you can do. This blog has been designed to cover the essentials.
We hope you found it useful.
by Julian Woodfield